
To record a professional voice talent correctly, you must ensure proper audio signal flow from the voice to the final captured digital audio data.
But what is audio signal flow?
Audio signal flow is the path an audio signal takes from its source to its destination. In our case, this is a straightforward path from the professional voice talent through a microphone, into a microphone preamp (often housed within an audio interface), and into the computer, which operates as a digital audio workstation (DAW).
Understanding audio signal flow is essential for any voice professional because it allows you to:
- Optimize your setup for the best possible sound quality.
- Troubleshoot any problems that may occur during recording.
- Get creative with your recording and mixing techniques.
Basic audio signal flow for professional voice recording
The basic signal flow for professional voice recording is as follows:
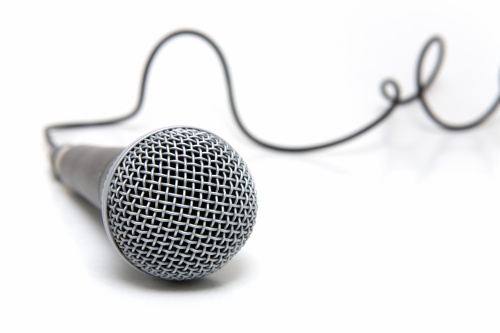
- Microphone: The microphone captures the sound waves of your voice and converts them into an electrical signal.
- Microphone preamp: The microphone preamp boosts the level of the electrical signal from the microphone so that it can be processed by other devices.
- Audio interface: The audio interface converts the electrical signal from the microphone preamp into a digital signal that can be recorded and processed by your computer.
- Digital audio workstation (DAW): The DAW is a software program that allows you to record, edit, and mix audio.
- Monitor speakers: Monitor speakers allow you to hear the audio signal that you are recording and mixing.
Additional devices and processing steps
In addition to the basic components listed above, there are many other devices and processing steps that can be used in professional voice recording. These include:
- EQ (equalization): EQ allows you to boost or cut certain frequencies in the audio signal to improve its sound quality.
- Compression: Compression reduces the dynamic range of the audio signal, making it sound more consistent and polished.
- De-essing: De-essing is used to remove harsh sibilance sounds from the audio signal.
- Reverb: Reverb adds a sense of space and depth to the audio signal.
- Delay: Delay creates echoes that can be used to create a variety of effects.
Understanding audio signal flow is essential for professional voice recording. By understanding the different components and processing steps involved, you can optimize your recording setup for the best possible sound quality and get creative with your recording and mixing techniques.
As audio geeks, we’ve been honing our own signal flow for years, both for fun and to improve the quality of our output. We work with a large roster of professional voice talents who’ve perfected their own audio paths as well. This helps guarantee that our IVR recordings, auto-attendant greetings, and on-hold messages play perfectly for our customers.